
 DevPixel Engineering
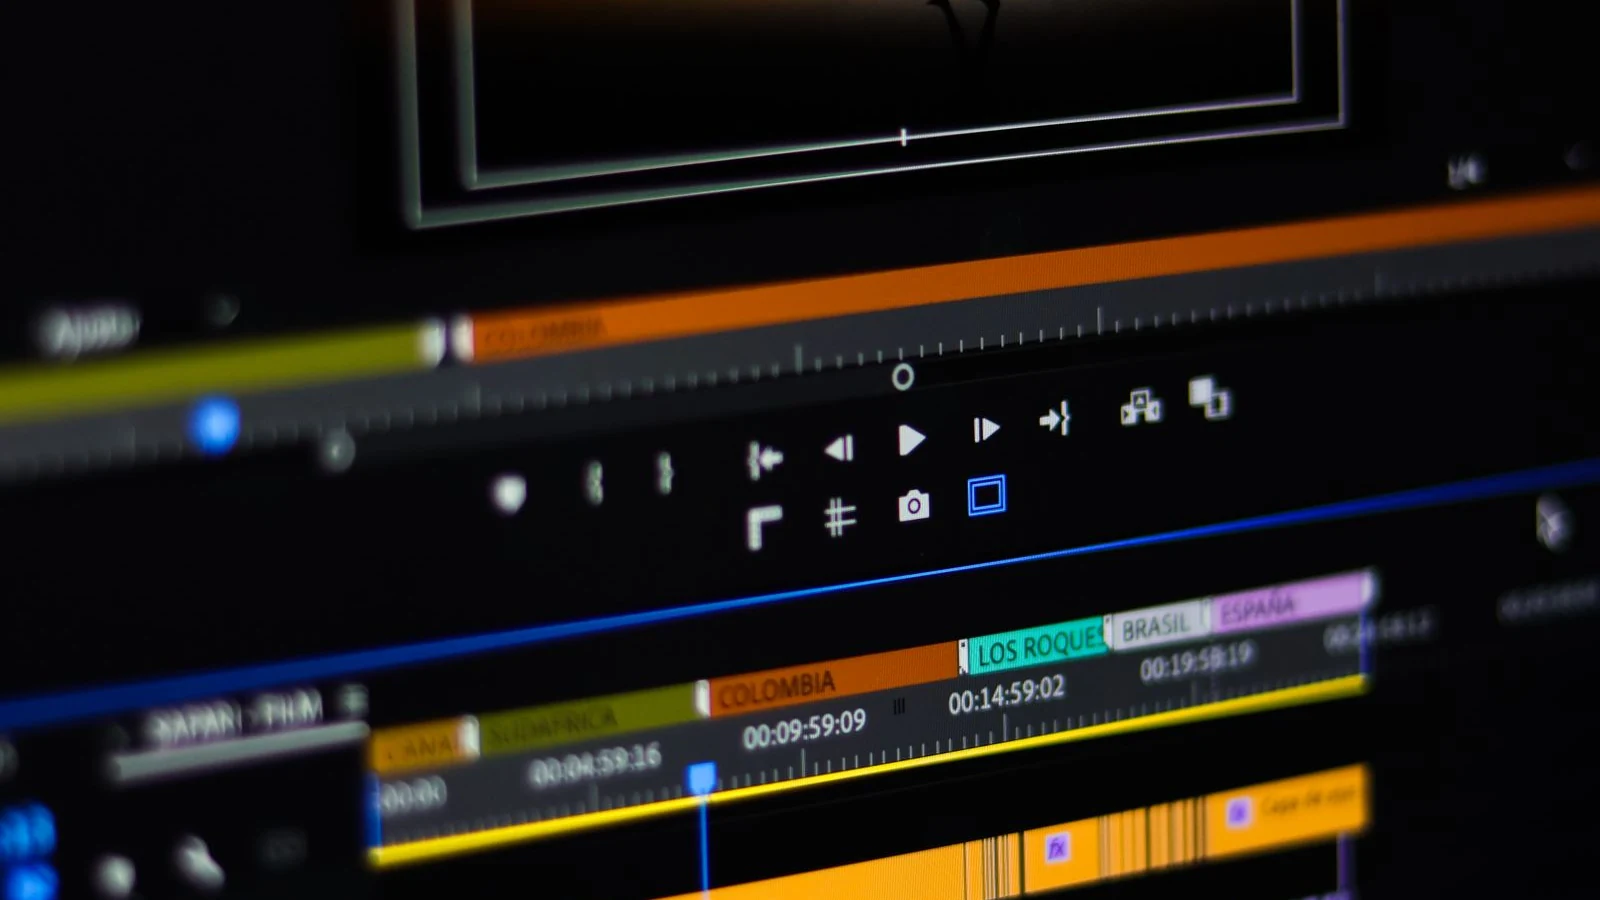
Hyperframes is an open-source tool by HeyGen that allows you to build motion graphics and video overlays entirely using HTML, CSS, and JavaScript source code instead of manual drag-and-drop operations in After Effects or Premiere. When combined with Claude Code, you simply provide prompts in natural Vietnamese, and the AI will automatically generate the layout code, calculate keyframe timelines, and render a complete MP4 video with 100% accurate accented Vietnamese subtitles.

1. Introduction: Automating Video with Code Using Claude Code & Hyperframes
Code-driven video generation is a breakthrough trend that helps content creators and developers automate repetitive post-production tasks at scale:
- No drag-and-drop timeline required: The entire scene structure, timing, and transition effects are clearly specified using semantic HTML files.
- Claude Code acts as the technical director: You describe the requirements in natural language (for example: “Add a lower third for Sarah Chen at second 32, white text on a blurred background, sliding in from the left”), and Claude Code writes CSS animations precise down to the millisecond.
- Completely free on your local machine: Hyperframes runs directly on your computer without relying on cloud platforms, supporting high-resolution video exports with no watermarks.
The entire workflow in this guide has been battle-tested on both macOS and Windows environments, ensuring crisp display of accented Vietnamese subtitles without any font issues or broken layouts.
2. System Requirements and Environment Preparation
Before you begin, prepare the following 2 foundational tools on your computer:
Step 1: Install the Node.js LTS version
Hyperframes runs on the Node.js platform. Visit nodejs.org to download and install Node.js 20 or 22 LTS.
Step 2: Open Terminal and check Node.js
Open the command line window (Terminal on Mac / PowerShell on Windows) and check:
If the output returns a version like v20.x.x or v22.x.x, you are all set.
Step 3: Install the FFmpeg multimedia processing library
FFmpeg is a high-quality video decoding and rendering tool that Hyperframes uses to compress frames into MP4 files.
For macOS:
For Windows:
3. Install Hyperframes Skill and launch Claude Code
The automated video project initialization process takes less than 2 minutes:
Step 4: Create a directory and install the Hyperframes Skill
Run the following commands in your Terminal to set up the directory and load the official Hyperframes skill set from GitHub:
Step 5: Launch Claude Code and create your first video
Open Claude Code with a simple command:
Then, enter the prompt to generate your first video:
Step 6: Preview and Render to an MP4 File
You can launch a real-time preview server (Hot-reload) or directly export to a high-quality MP4 file:
4. Techniques for Building Professional Motion Graphics Components
Leveraging the power of CSS and the DOM structure, you can direct Claude Code to create subtle, sophisticated graphic animations:
Step 7: Build the Opening Intro with a Fade-out Effect
Step 8: Automatically generate Lower Third title cards by timestamps
Instead of manually aligning each layer on the timeline, give Claude Code the list of speakers along with their exact timestamps:
Step 9: Synchronize Vietnamese subtitles properly without font errors
To ensure accented Vietnamese subtitles display perfectly, ask Claude Code to load dedicated Google Fonts (such as Be Vietnam Pro or Inter) directly into the configuration file:
Step 10: Managing the Multi-track Timeline Structure
Hyperframes uses custom HTML data attributes to control the timeline:
data-track-index: Layer stacking order from bottom to top (Layer 0: Background video, Layer 1: Graphics, Layer 2: Subtitles).data-start: The start time of appearance, measured in seconds or frames.data-duration: Total display duration on screen.
Step 11: Standardize the Brand Identity with brand.json
Store primary color palettes, margin sizes, and fonts in the brand.json file. Claude Code will automatically read this file to apply them consistently across all future videos you edit.
5. Finalizing post-production and moderation workflows
To put the system into automated operation for media channels, establish the following closed-loop workflow:
Step 12: Combine all layers into an automated workflow
The complete workflow runs continuously: Ingest raw audio file to Generate Whisper subtitles to Create Lower Third to Insert Intro to Render final MP4 via FFmpeg.
Step 13: Set up a content review step before publishing
Never skip the review step (Human-in-the-loop) for publicly released videos. Always open the preview for 30 seconds to double-check the spelling of proper names and audio sync before publishing.
6. Rendered Showcase
Below are two sample projects rendered entirely with source code through the combination of Claude Code and Hyperframes:
Built with 4 timeline layers: 4K footage video, cinematic film grain layer, glowing gold title, and smoothly animated automated subtitles.
Applying action cut techniques, glitch transition effects using CSS transforms, and a sharp branded lower-third system.
7. Common Errors and Troubleshooting
The most common issues during video automation with code and quick solutions:
8. Frequently Asked Questions (FAQ)
Answers to common questions about the capabilities and practical applications of Hyperframes in video production:
Read next: Workflow Automation with a 4-Agent Pipeline in Claude Code
Chưa có bình luận nào. Hãy là người đầu tiên chia sẻ góc nhìn!